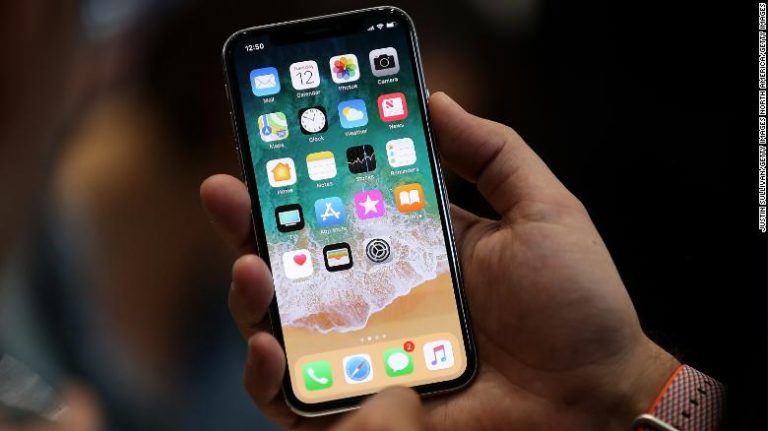
The first thing to do after buying a new iPhone is to turn it on and set it up, activating essential features. Only after that, you can start chatting with friends, play at Slotsgem, and enjoy other cool features. Here’s how to set up your iPhone from scratch and where to start.
Turn On Your iPhone
It all begins with powering on the device. Locate the side button on your iPhone and hold it down. Keep holding until the Apple logo appears on the screen. Next, you’ll see a welcome message in different languages and a prompt to set up the device.
Choose your language and region, allow data usage, and complete other standard settings. The next crucial step involves your Apple ID.
How to Quickly Set Up a New iPhone If It’s Not Your First
If you’ve already used Apple devices and have an Apple ID, activating your new iPhone will be a breeze. Use the “Quick Start” feature, which allows you to transfer all your data to the new smartphone so you can start using it right away. Just make sure both devices are with you.
Here’s how it works:
- Ensure Bluetooth and Wi-Fi are enabled on your old phone.
- Turn on your new iPhone and place it near the old device.
- Instructions will appear on the new iPhone’s screen—follow the setup prompts. If they disappear, restart both phones.
- After completing the steps, enable mobile data or Wi-Fi on the newly activated iPhone.
- Next, set up Face ID or Touch ID.
- Finally, choose how to transfer your data. You can do it directly from the old device, but you’ll need to wait for the process to finish before using the new phone. Alternatively, transfer data via an iCloud backup, which runs in the background.
In both cases, keep the devices close until the transfer is complete. The time it takes depends on the total amount of data.
Creating an Apple ID for First-Time Apple Users
If you’ve never owned an Apple device before, you’ll need to create an Apple ID. This account is essential for all major iPhone functions, like purchasing and downloading apps and games. When you get other Apple devices like an iPad, MacBook, Apple Watch, or AirPods, they’ll all be linked through your Apple ID, creating a seamless ecosystem. Start a task on your iPhone and finish it on your tablet or laptop. If one device is lost or damaged, your data remains safe on another device with the same Apple ID.
Creating an account is straightforward:
- When prompted to enter an Apple ID, click “Forgot Apple ID or Password?”
- Select “Create a Free Apple ID.”
- Enter your name and date of birth, then tap “Continue.”
- Provide an email address for your account.
- Verify your email, create a password, select your region, enable two-factor authentication, and follow the on-screen instructions.
If you want to create the account later, you can skip this step and return to it via “Settings” when needed.
How to Create an iCloud Account on iPhone
iCloud is a cloud storage service that helps you save important documents and media files. You can access it from any Apple device or through the website icloud.com. You can even share access with friends or family so they can view your files.
Here’s how to create a new iCloud account:
- Go to “Settings” and tap your name at the top of the screen.
- If your name isn’t displayed, tap “Sign In” and enter your Apple ID and password.
- Select “iCloud Mail” or “Mail” and follow the system’s instructions.
That’s it! You’ve completed the initial setup of your smartphone.
Essential Features and Settings
These are must-haves for everyday use:
- Setting a Passcode: Go to “Settings,” select “Face ID & Passcode” or “Touch ID & Passcode,” depending on your preferred authentication method.
- Updating iOS: Navigate to “Settings” > “General” > “Software Update” and check if your iOS is up to date.
- Social Media, Messaging Apps, and Essential Tools: Think about which apps you’ll use and download them from the App Store. Don’t forget games if you’re into them.
- Quick Access via Control Center: Swipe down from the top-right corner of the screen (for iOS 18). For older versions, go to “Settings” > “Control Center.”
- Do Not Disturb and Focus Modes: Activate these to silence notifications during specific times, helping you focus or relax. Go to “Settings” > “Focus” and choose “Do Not Disturb,” “Driving,” or another mode.
- Setting Up Siri: Find this option in “Settings.”
Features to Enable in Case Your iPhone Goes Missing
If you lose your iPhone or it gets stolen, you can locate it on iCloud.com/find (you’ll need your Apple ID and password). Alternatively, use the “Find My” app. To ensure the lost device’s location appears on your Mac or iPad, enable the “Find My iPhone” feature. Set this up right after purchase for your safety.
- In “Settings,” tap your name.
- Select “Find My,” then “Find My iPhone,” and toggle the switch (it will turn green). Now your device can be tracked if lost or stolen.
If you don’t have other Apple devices, you can use the Find My service or a friend’s smartphone by adding them as a trusted contact. Here’s how: - Go to “Settings,” then your Apple ID.
- Select “Sign-In & Security,” then “Account Recovery.”
- Tap “Add Contact.”
If you forget your phone somewhere, lose it, or it gets stolen, its location can easily be tracked through the trusted contact.

